Connecting the Custom Elements Manifest to Figma Code Connect
Overview
Something I've had on the back burner to implement for some time now is integration with Figma Code Connect. The benefit of using Code Connect is that you can specify how a Figma component translates into code, making it easier to hand off a design to a developer, as they'll know what component configuration in the design system to use right there in dev mode with usable snippets. Code Connect relies on code to make the initial translation, and, like any task, doing this manually is tedious and error-prone; therefore, if you're writing Web Components like me, it's worth exploring ways to automate the process using the ever-so-wonderful Custom Elements Manifest.
The Figma Code Connect API is not the most straightforward to work with. It has its quirks that can make integration challenging. The approach that Figma suggests is using their command line tool to generate a series of *.figma.ts files alongside your component declarations that map the Figma component to the code component. This is fine if you're working on a small project, but for larger projects with many components, this quickly becomes unmanageable as you have to keep these files in sync with your actual components. Fortunately, the Custom Elements Manifest provides a structured way to describe your web components, including their properties and slots. If you're already using it to generate your documentation, you can easily extend the generation process to also create the necessary Code Connect files on build.
For this to work effectively, you need to examine how your Figma components are set up. If your answer to any of the following is yes, plan some refactors to get the most out of Code Connect, as it will be challenging to automate the process.
- Are the component properties in Figma and code in sync? For example, is your
headingattribute on a component called something else in Figma? - Are all component abstractions represented? You might have split up a component in code, but it may be a single piece in Figma.
- Are you missing icon names, variants, or other details?
Preparing Our Analyser
Most analysers that generate a Custom Elements Manifest operate by extending JSDoc comments. In our case, we'll need to add a @figma tag to our component comments so that we can tie the two together.
The URL provided here can be found by selecting the main component in Figma and copying the link. Both the file name and node-id are key pieces of information that we'll need to query the Figma API later.
/**
 * @customElement my-badge
 * A badge component for displaying status.
 *
 * @figma https://www.figma.com/file/XOXZ/My-Design-System?node-id=123%3A456
 * @slot icon - Slot for the icon element.
 */
class MyBadge extends LitElement {
  /**
   * The label for the badge.
   */
  @property({type: String})
  public label: string = 'Badge';

  /**
   * The variant of the badge.
   */
  @property({type: String})
  public variant: 'positive' | 'negative' = 'positive';

  public override render(): TemplateResult {
    return html`<div class="badge ${this.variant}">
      <slot name="icon"></slot>
      ${this.label}
    </div>`;
  }
}
We'll use the @wc-toolkit/jsdoc-tags project to recognise the custom tag and then register our locally created code connect plugin, which we'll cover in the next section. As it's going to be a heavy task, we'll only set this to run when we analyse for our production publishes.
import {jsDocTagsPlugin} from '@wc-toolkit/jsdoc-tags';
import cemFigmaCodeConnectPlugin from './cem/cem-figma-code-connect-plugin.mjs';

export default {
  globs: [
    'src/ui/**/*.{js,ts}',
  ],
  outdir: bundleDir,
  litelement: true,
  dev: false,
  plugins: [
    jsDocTagsPlugin({
      tags: {
        figma: {
          description: 'Link to the components Figma page',
          mappedName: 'figma',
        },
      },
    }),
    // Only run Figma Code Connect plugin in production
    ...(process.env.NODE_ENV === 'production'
      ? [cemFigmaCodeConnectPlugin()]
      : []),
  ],
};
We'll also set up our figma.config.json file, which houses references to where our *.figma.ts files will eventually be located. This allows the CLI to scan the directory when the publishing job is ultimately run. You can find more information on how to configure this file here.
{
  "codeConnect": {
    "include": ["src/ui/**/*", "src/ui/**/*.figma.*"],
    "parser": "html",
    "importPaths": {
      "ui/**/*": "ui"
    },
    "paths": {
      "ui": ["src/ui"]
    },
    "documentUrlSubstitutions": {}
  }
}
Writing the Plugin
There are a couple of essential pieces of functionality that we'll need to consider with the plugin.
- It must filter the components to process only those that have a custom
@figmatag. - It must query the Figma Rest API to get the list of available properties on a component. Remember when I asked if your Figma properties were in sync with code? If you try to use something that doesn't exist in Figma, the validator will reject it. We'll need to reconcile any differences.
- It must generate the necessary
*.figma.tsfiles required for Code Connect.
We'll start by setting up the scaffold of our plugin, ensuring that only items with a @figma tag are processed.
As we run our plugin after the call to jsDocTagsPlugin, we can access the figma property on the declaration object.
export default function cemFigmaCodeConnectPlugin() {
  return {
    name: 'figma-code-connect-plugin',
    async packageLinkPhase({customElementsManifest}) {
      for (const mod of customElementsManifest.modules) {
        for (const declaration of mod.declarations) {
          // Only process components with attached Figma links
          if (declaration.figma?.name) {
            try {
              await generateCodeConnectFile(declaration, mod);
            } catch (error) {
              console.warn(
                `Failed to generate Code Connect for ${declaration.name}:`,
                error,
              );
            }
          }
        }
      }
    },
  };
}
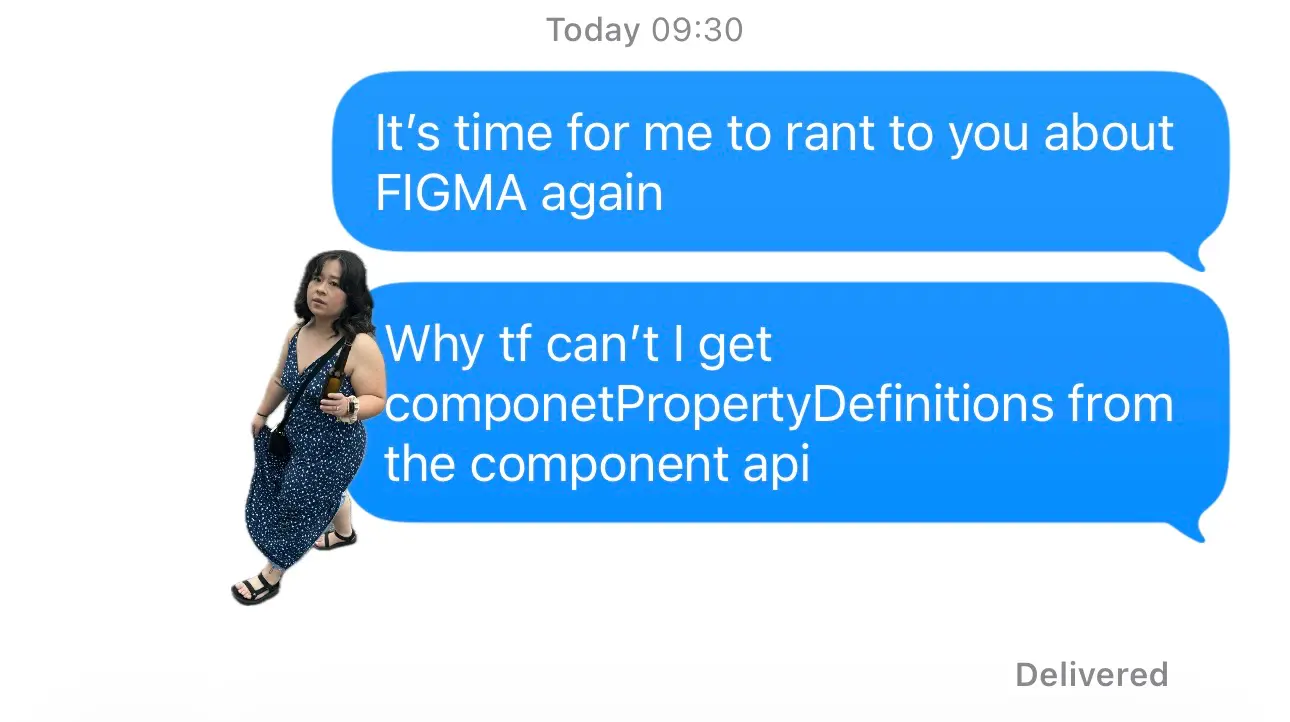
Next, we'll extract the node-id parameter and file key from our Figma URLs and make a request to the file endpoint of the Figma API. After reading the Figma API documentation, calling the component endpoint would be the most obvious choice, yet, for some reason, the component endpoint doesn't contain the componentPropertyDefinitions object we need. There's probably a reason for it?
Here's what our method looks like.
async function getFigmaComponentProps(url) {
  const {FIGMA_ACCESS_TOKEN} = process.env;

  /**
   * Extract fileKey and nodeId from the Figma URL.
  */
  const {fileKey, nodeId} = parseFigmaUrl(url);

  try {
    /**
     * Get the specific node with component properties
    */
    const nodeUrl = `https://api.figma.com/v1/files/${fileKey}/nodes?ids=${nodeId}`;
    const nodeResponse = await fetch(nodeUrl, {
      headers: {'X-Figma-Token': FIGMA_ACCESS_TOKEN},
    });

    const nodeData = await nodeResponse.json();
    const node = nodeData.nodes?.[nodeId]?.document;
    let props = {};

    /**
     * For COMPONENT_SET, extract componentPropertyDefinitions
    */
    if (node.type === 'COMPONENT_SET' && node.componentPropertyDefinitions) {
      props = node.componentPropertyDefinitions;
    }

    return {props, node};
  } catch (error) {
    console.error('Error fetching Figma component props:', error);
    return {props: {}, node: null};
  }
}
With the list of component properties, we can then create a mapping between the attributes in the Custom Elements Manifest and Figma. The conversion here is pretty straightforward. We'll extract the attributes, normalise the Figma naming conventions by removing elements such as emojis, spaces, dashes, etc., and then map the two together if we determine they are equivalent. For example, 🖊️ Text would map to the text attribute in our manifest. It's essential that design and engineering speak the same language, but we should anticipate some form of deviation to accommodate stylistic choices.
async function generateCodeConnectFile(declaration, mod) {
  const figmaLink = declaration.figma?.name;

  const {
    props: figmaComponentProps,
    node: figmaNode,
    components: figmaComponents,
  } = await getFigmaComponentProps(figmaLink);

  const componentName = declaration.name
    .replace(/^My/, 'my-')
    .replace(/([a-z])([A-Z])/g, '$1-$2')
    .toLowerCase();

  const originalPath = mod.path;
  const filePath = mod.path.replace(/\.ts$/, '.figma.ts');

  /**
   * Get available attribute names from component declaration
   */
  const attrNames = new Set(declaration.attributes?.map(a => a.name) || []);

  /**
   * Maps Figma property names to component attribute names
   * @param {string} figmaName - Original Figma property name
   * @returns {string} Cleaned component compatible name
   */
  function mapFigmaNameToComponentName(figmaName) {
    return figmaName
      .replace(/^[^a-zA-Z]+/, '') // Remove emoji prefix
      .replace(/#\d+:\d+$/, '') // Remove ID suffix
      .toLowerCase()
      .replace(/\s+/g, '-'); // Convert spaces to hyphens
  }

  // Map and filter Figma properties to component attributes
  const mappedProps = {};
  const figmaPropNames = {};

  Object.entries(figmaComponentProps).forEach(([figmaName, def]) => {
    const componentName = mapFigmaNameToComponentName(figmaName);
    if (attrNames.has(componentName)) {
      mappedProps[componentName] = def;
      // Store clean Figma name for Code Connect
      figmaPropNames[componentName] = figmaName.replace(/#\d+:\d+$/, '');
    }
  });

  // Generate the Code Connect file content
  const content = generateCodeConnectContent({
    figmaLink,
    componentName,
    mappedProps,
    figmaPropNames,
  });

  await writeFile(filePath, content, 'utf8');
}
Lastly, we'll need to generate our *.figma.ts files and save them alongside our component definitions.
function generateCodeConnectContent({
  figmaLink,
  componentName,
  mappedProps,
  figmaPropNames,
}) {
  /**
  * Generate props object for Code Connect
  */
  const propsLines = Object.entries(mappedProps)
    .map(([componentName, def]) => {
      const figmaName = figmaPropNames[componentName];
      if (def.type === 'VARIANT') {
        const enumObj = Object.fromEntries(
          def.variantOptions.map(v => [v, v.toLowerCase()]),
        );
        return `${componentName}: figma.enum('${figmaName}', ${JSON.stringify(enumObj)}),`;
      } else if (def.type === 'BOOLEAN') {
        return `${componentName}: figma.boolean('${figmaName}'),`;
      } else {
        return `${componentName}: figma.string('${figmaName}'),`;
      }
    })
    .join('\n      ');

  const propsStr = propsLines ? `\n      ${propsLines}\n    ` : '';

  /**
  * Generate component attributes for the code samples
  */
  const exampleProps = Object.keys(mappedProps)
    .map(name => `${name}="\${props.${name}}"`)
    .join(' ');

  const componentTag = exampleProps
    ? `<${componentName} ${exampleProps}></${componentName}>`
    : `<${componentName}></${componentName}>`;

  return `import figma, {html} from '@figma/code-connect/html';

figma.connect(
  '${figmaLink}',
  {
    props: {${propsStr}},
    example: props =>
      html\`${componentTag}\`,
  },
);
`;
}
When we run the analyser, we should now see the associated files being created. If all goes according to plan, you should now be able to run npx figma connect publish in your terminal to publish all of the code samples, if something is amiss, you'll get a validation error that should help you identify what needs to be fixed.
Here's an example of what one of the generated files looks like.
import figma, {html} from '@figma/code-connect/html';

figma.connect(
  'https://www.figma.com/design/XOXZ/My-Design-System?node-id=1-118&m=dev',
  {
    props: {
      variant: figma.enum('Variant', {
        Positive: 'positive',
        Negative: 'negative',
      }),
      label: figma.string('Label'),
    },
    example: props =>
      html`<my-badge variant="${props.variant}" label="${props.label}"></my-badge>`,
  },
);
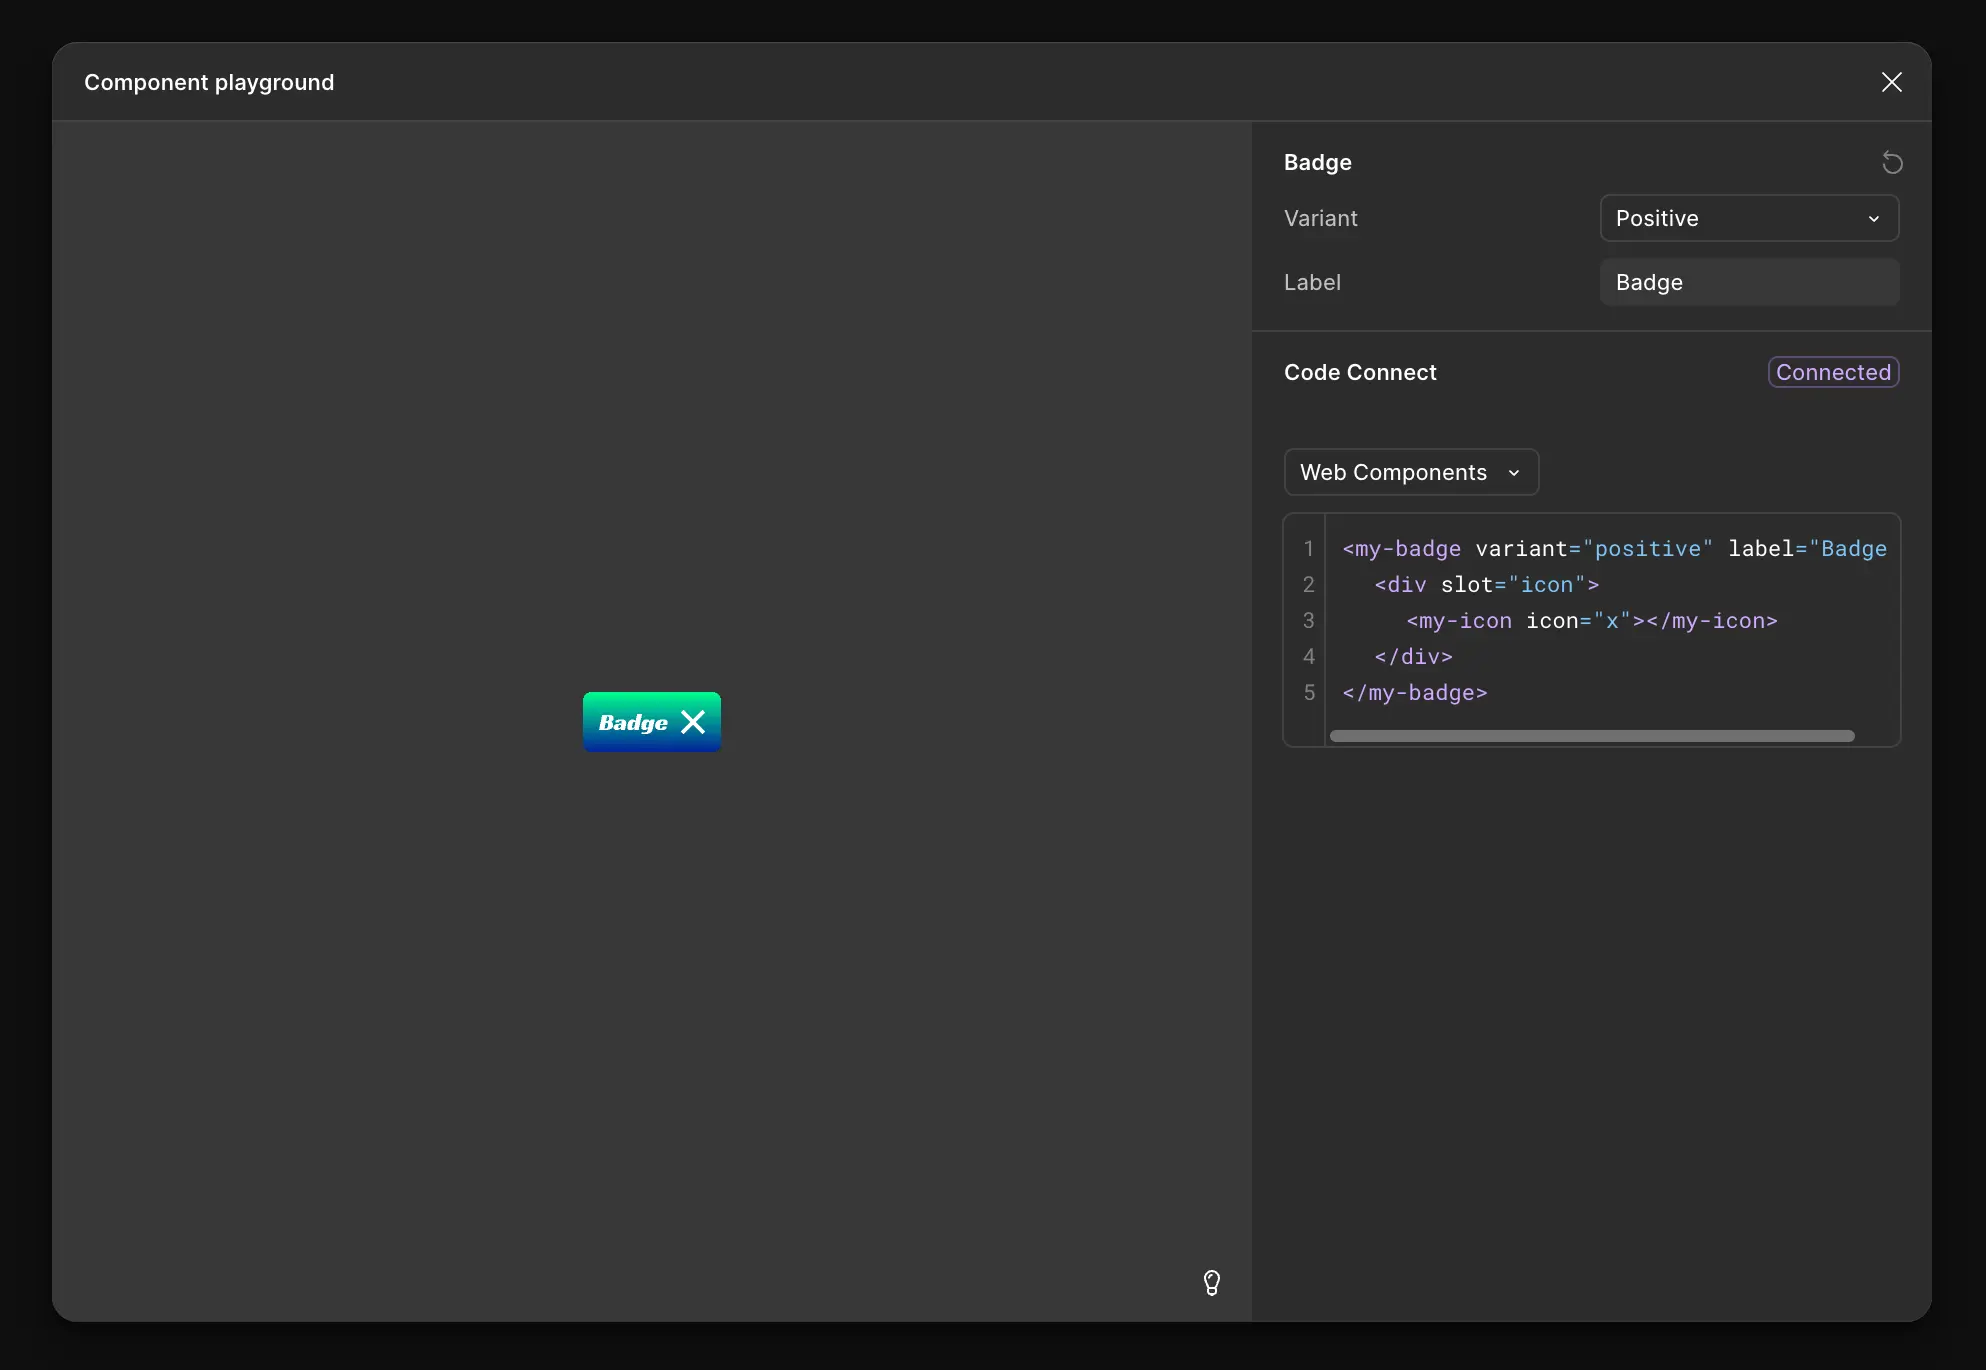
You should instantly see your code samples reflected in Figma dev mode.
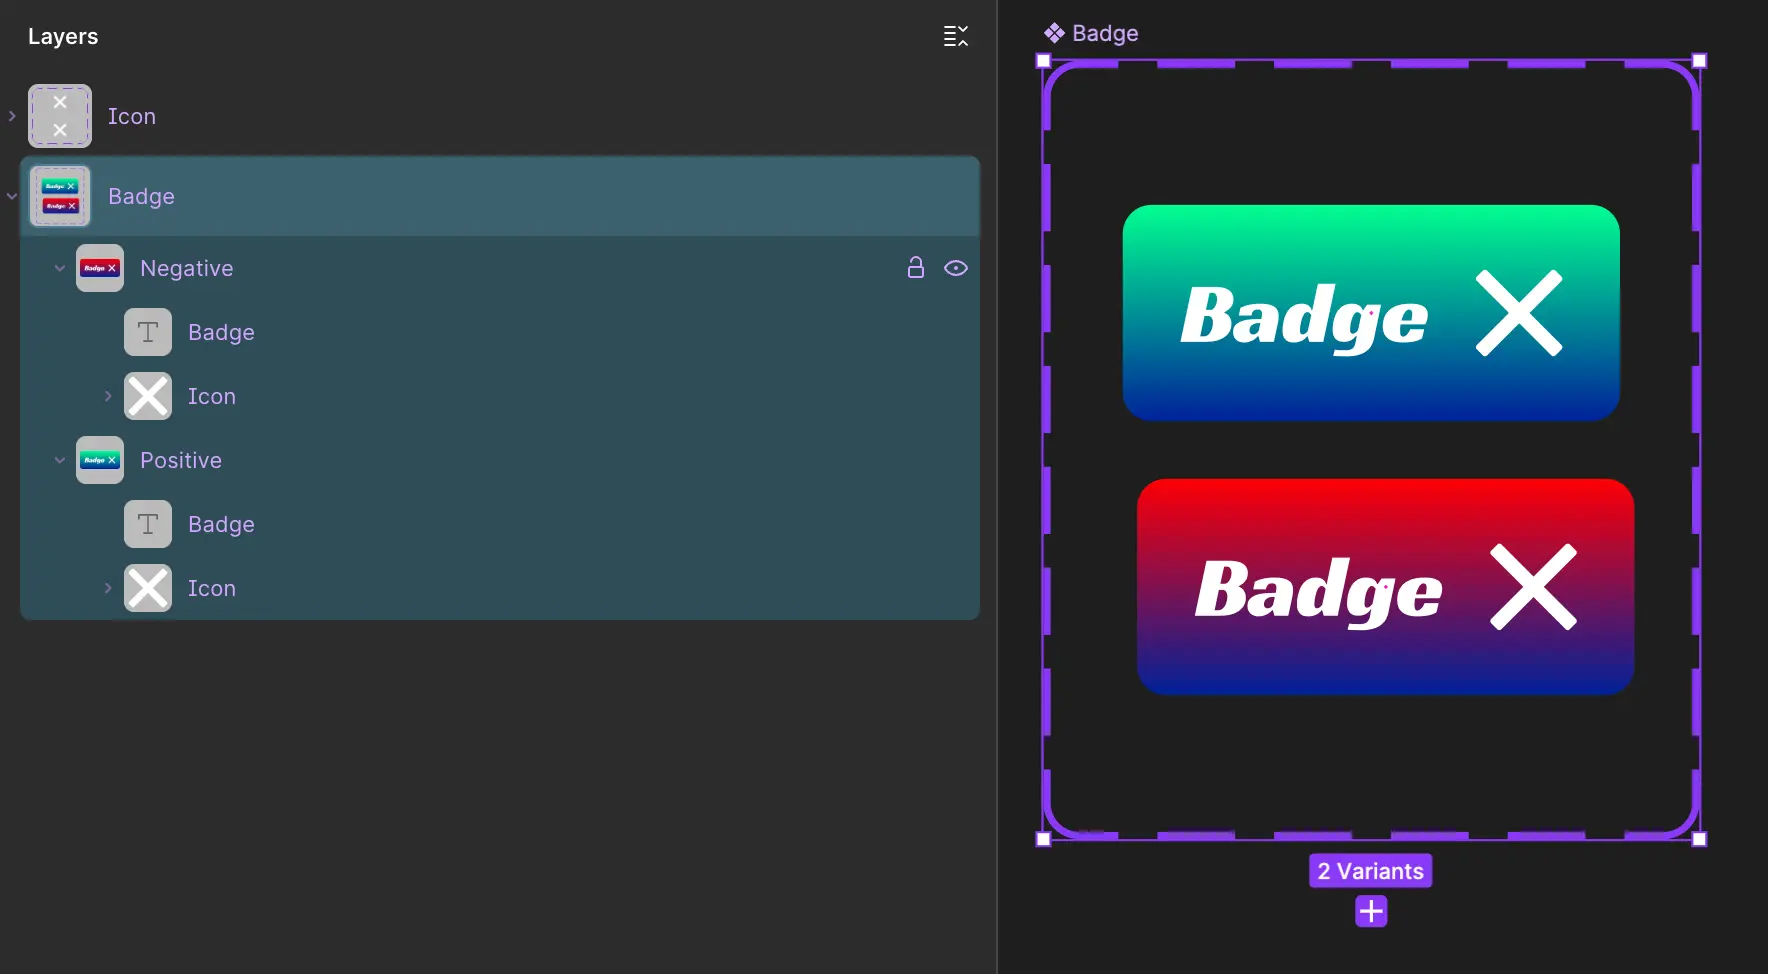
Instances and Slots
Web Components rely on slots for swapping inner pieces in and out of a component. In Figma, a similar concept exists in the form of instances.
The Figma API returns data about the component children, which we can use to compare against our available slots in the Custom Elements Manifest by filtering for an INSTANCE type.
function extractChildComponents(
  node,
  components = {},
  componentSlots = new Set(),
) {
  const children = [];

  if (!node.children) {
    return children;
  }

  for (const child of node.children) {
    /**
    * Look for INSTANCE children that represent actual slotted components
    */
    if (child.type === 'INSTANCE') {
      /**
      * Get the component definition if available
      */
      const componentDef = child.componentId
        ? components[child.componentId]
        : null;
      const componentName = componentDef?.name || child.name;

      children.push({
        name: child.name,
        componentName, // The actual component name from the components definition
        type: child.type,
        componentId: child.componentId,
        slotName: mapComponentNameToSlot(componentName, componentSlots),
      });
    }

    const nestedChildren = extractChildComponents(
      child,
      components,
      componentSlots,
    );
    children.push(...nestedChildren);
  }

  return children;
}
You'll then need to ensure that in the generated template, you're referencing the figma.instance or figma.children method with the appropriate name and then assigning that to an element with the proper slot name in your code examples. It's essential to understand the difference between these two methods:
You'd use figma.instance if:
- You want to reference a specific named instance within the Figma component
- The instance has a predictable, consistent name across variants
- You need precise control over which instance maps to which slot
- The component structure is simple, and instances are at the top level
Example: A button component where you always have a specific "Icon" instance that maps to an "icon" slot.
You'd use figma.children if:
- You want to match instances by component type or naming pattern
- The instance names vary across component variants but follow a pattern
- You need to capture multiple instances of the same type
- The instances are nested within variant components
For the most reliable results when mapping Figma instances to slots use consistent naming conventions and structural patterns in your Figma designs. Where possible try to maintain a 1:1 mapping between slot names and instance names so that the analyser can automatically match them up.
import figma, {html} from '@figma/code-connect/html';

figma.connect(
  'https://www.figma.com/design/XOXZ/My-Design-System?node-id=1-118&m=dev',
  {
    props: {
      variant: figma.enum('Variant', {
        Positive: 'positive',
        Negative: 'negative',
      }),
      label: figma.string('Label'),
      icon: figma.children('Icon'),
    },
    example: props =>
      html`<my-badge variant="${props.variant}" label="${props.label}">
        <div slot="icon">${props.icon}</div>
      </my-badge>`,
  },
);

figma.connect(
  'https://www.figma.com/design/XOXZ/My-Design-System?node-id=1-179&m=dev',
  {
    props: {
      icon: figma.enum('Icon', {
        x: 'x',
        y: 'y',
      }),
    },
    example: props => html`<my-icon icon="${props.icon}"></my-icon>`,
  },
);
In my opinion, is the most challenging part of implementing Code Connect for Web Components. You really need to make sure that not only are your property names aligned, but also the instances and how they are structured. There are numerous ways to approach tasks in Figma, and across an extensive library of components, the implementation is likely to be inconsistent. While automating this is technically possible, it's likely not practical and is very sensitive to naming and structural patterns, which may require manual intervention.
Conclusion
In general, I like the concept of Code Connect, but it requires very tight alignment across design and development, which may not be the reality for every team. However, even if you generate incomplete code samples, it's worthwhile, mainly if it provides visibility and directs users to your documentation to learn more, rather than having them to waste time implementing a component that already exists in your design system. Using the Custom Elements Manifest and the Figma REST API, you can create an approach that allows you to progressively improve the code samples over time each time the analyser script runs as you begin to refactor things. In my case, I decided to skip providing slot examples initially because they required major Figma refactors, but it's something I'd be keen to revisit in the future.